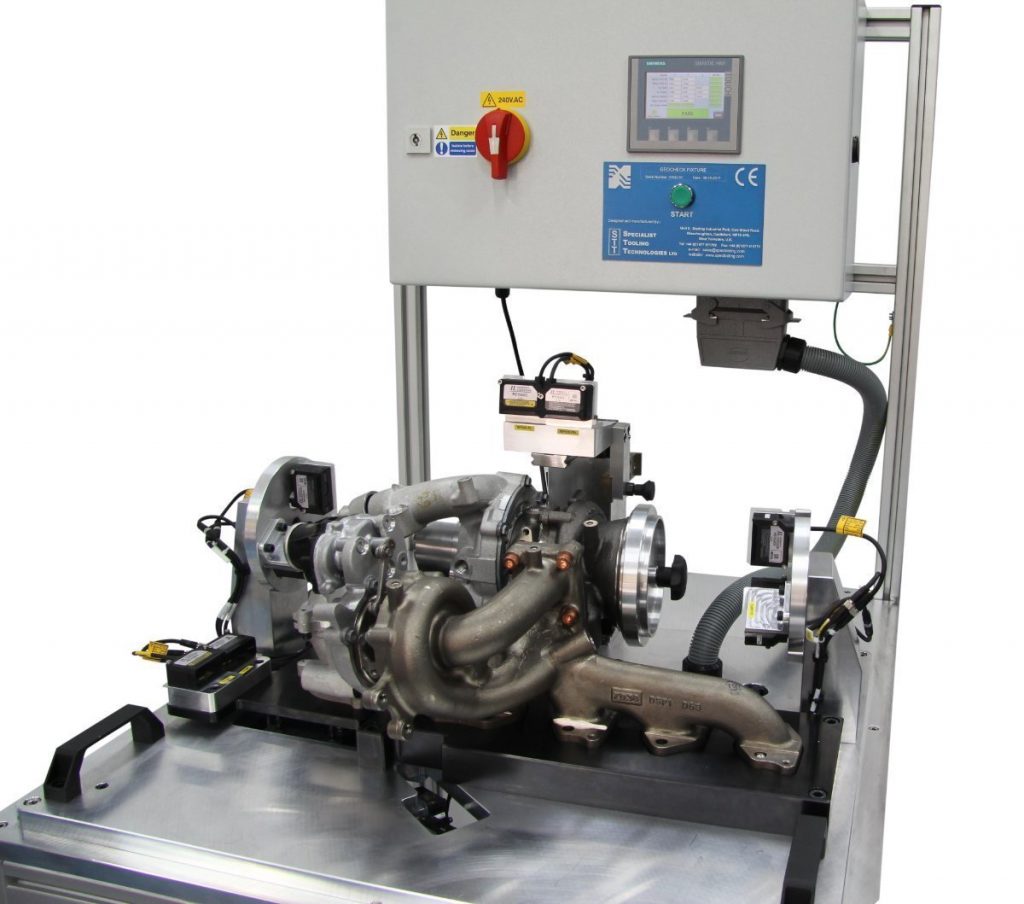
Geometry Checking Fixture
This non-contact Geometry checking fixture is for inspecting positions of key points on turbo assemblies. Using 15 Keyence high precision laser distance sensors we are checking X,Y & Z positional tolerances relative to a datum face. A master was manufactured to allow the fixture to be calibrated, by simply pressing a couple of buttons on the HMI. A Siemens PLC captures the readings from each bank of sensors and performs the calculations, to ensure the positional tolerances are met for each point to be inspected and reports either a Pass or a Fail. All test data is stored for future interrogation.


