Robot Loading Bearing Gauge System
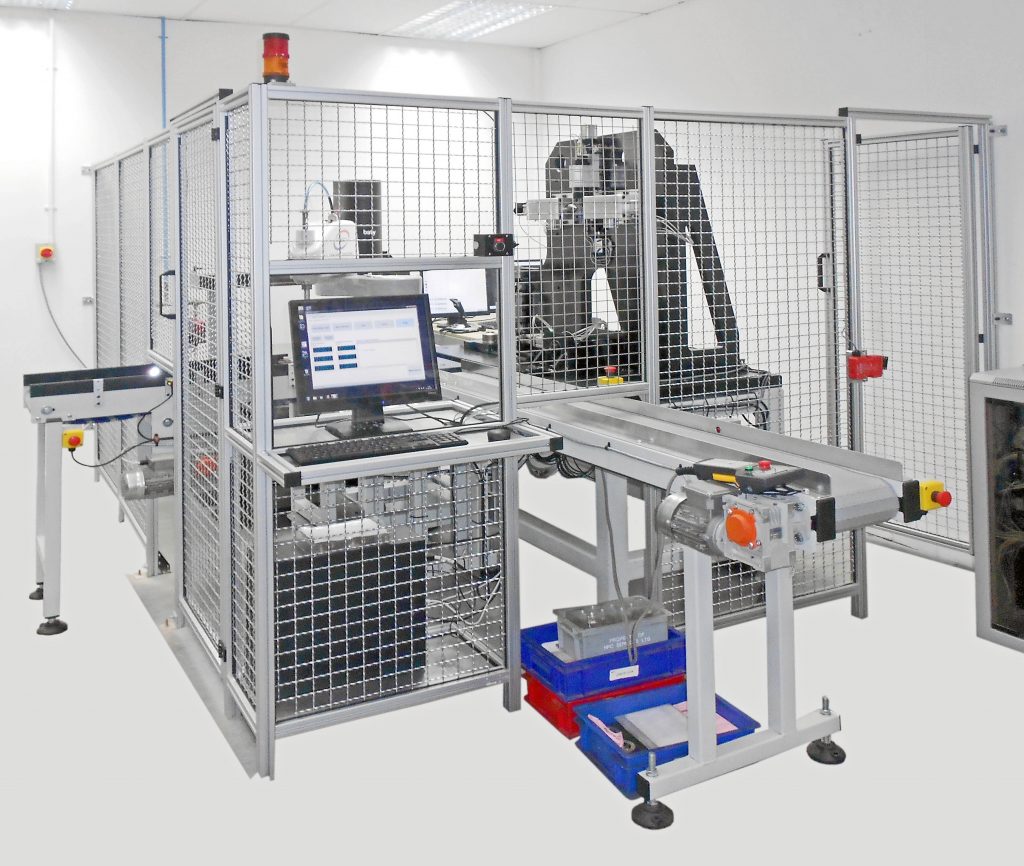
This is an automated Final Inspection system for checking radial and axial clearance as well as key dimensions on spherical plain bearing assemblies, using a Baty CMM and a bespoke Clearance checker designed and manufactured by STT.
- Bearing assemblies are manually loaded onto an input conveyor.
- A conveyor indexes forwards until a part is detected in any of three vee locations then stops.
- Toshiba Scara Robot picks the part up from the detected location and loads it onto a location nest on the CMM where dimensional checks are carried out.
- Once complete, the Robot picks up the last completed part from the clearance checker, then places it on the Pass or Fail side of the output conveyor. then the robot moves the inspected part from the CMM to the clearance check and then returns to the conveyor for the next part to load to the CMM.
- The part is moved between the axial & radial stations of the clearance checker, using pneumatic powered pick & place units.
- Through the 2 – stations, the outer housing is clamped, and the inner ball is pushed both ways axially then radially to measure clearance by comparing 2 – linear transducer readings.
- The force applied is controlled by a closed loop system, with an electronic pressure regulator & feedback from load cell.
- The control system developed by STT, integrates the Robot, CMM, PLC and bespoke PC software that is effectively a user configurable HMI for setting up variants and data logging all test results.


